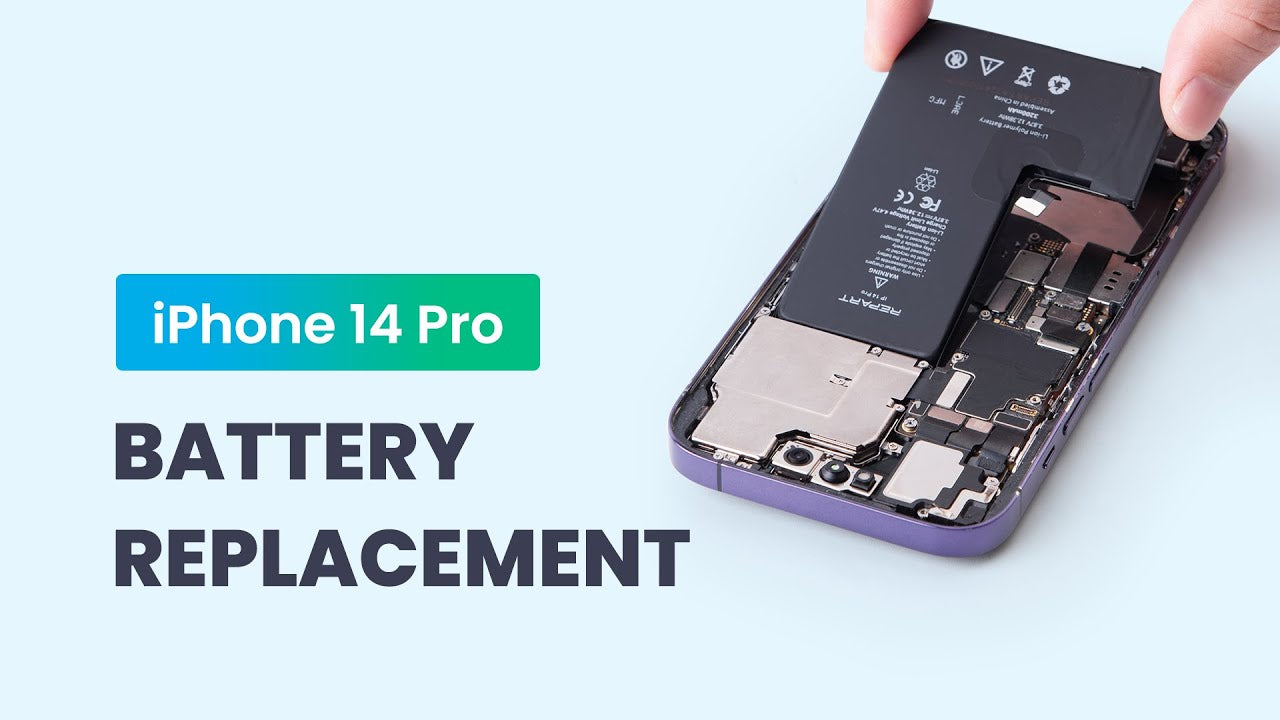
How to Replace Your iPhone 14 Pro Battery

Is your iPhone 14 Pro battery draining too fast or showing poor health? It might be time for a replacement. This guide walks you through the complete process of replacing your iPhone 14 Pro battery using REPART’s high-quality replacement. Whether you're a repair shop technician, a DIY enthusiast, or someone looking to save money on repairs, follow these simple and effective steps to safely bring your phone back to life.
Step 1: Battery Health Check
Before replacing the battery, verify its health in the iPhone settings. Navigate to Settings > Battery > Battery Health & Charging to check the maximum capacity. If it’s below 80%, consider a replacement. Refer to our detailed article for more guidance.

Step 2: Power Down & Disassemble
Turn off the iPhone by holding the side button and sliding to power off.

Remove the two Pentalobe screws at the bottom edge using a Pentalobe screwdriver.

Step 3: Heat and Loosen the Screen Adhesive
Place the iPhone face-up on a separator machine and set the temperature to 80°C. Alternatively, use a suction cup and heat gun for manual heating.

Secure the device with clamps and attach a suction cup to the screen.

Once heated, lift the suction cup to create a gap and apply a few drops of ethyl alcohol along the edges to soften the adhesive.


Step 4: Open the Display
Insert an opening pick under the screen’s bezel to separate the adhesive and carefully slide it around the edges.


Place the iPhone in a screen holder or lean the screen against a stable surface. Gently swing the screen up to open the device.

Apply protective stickers over the front camera to prevent damage.

Step 5: Disconnect Display & Battery
Unscrew the display connector bracket using a precision screwdriver and remove the display and antenna brackets with tweezers.


Disconnect the battery, display, and sensor cables using a spudger, then remove the screen assembly.


Step 6: Remove the Old Battery
Apply ethyl alcohol around the battery edges to loosen the adhesive, then gently pry up the battery using a spudger.


Remove any remaining adhesive and clean the battery compartment.

Step 7: Prepare and Install the New Battery
Unpack the REPART iPhone 14 Pro replacement battery and attach the provided adhesive strips.


Use a small roller to press the adhesive firmly and fold the edges onto the battery.


Peel off the adhesive release liner, align the battery in the iPhone housing, and connect then disconnect the battery cable to reset the connection.


Roll over the battery with the roller to ensure secure placement.

Step 8: Reassemble the iPhone
Peel off the backing of the new screen adhesive, align it, and press it into the iPhone body.


Use tweezers to peel off the front adhesive liner.

Reconnect the display, sensor, and battery cables, then power on the iPhone to test functionality.


Confirm wired and wireless charging functionality.


Step 9: Final Assembly
Install the battery and display connector brackets and secure them with screws.

Use tweezers to remove the adhesive and front camera stickers.

Hold the display upright, peel off the final adhesive liner, align the display edges, and press gently to seal the iPhone.


Reinstall the two bottom Pentalobe screws.

Tools & Parts List
Conclusion
Replacing the iPhone 14 Pro battery is straightforward with the right tools, patience, and REPART’s reliable battery. This DIY approach saves time and money while deepening your understanding of your device. Share this guide with fellow tech enthusiasts or bookmark it for future reference!
-
Posted in
battery replacement, iphone 14 pro


