
Step-by-Step Guide to iPhone 14 Screen Replacement
If your iPhone 14 screen is cracked or not functioning properly, replacing the screen assembly can restore its usability. This guide will walk you through the process step-by-step, ensuring you have all the information you need for a successful iPhone 14 screen replacement.
Prepare for Replacement
Before replacing the screen assembly, verify the True Tone function on the original screen.
Tools Required
- Heating mat (set to 80°C)
- Phone opener
- Suction cup tool
- Tweezers
- Screwdrivers (for Pentalobe screws and bracket screws)
- Spudger
- Screen holder
- Electric glue remover (optional)
Parts Required
Disassemble the Phone
- Remove the two Pentalobe screws at the bottom edge of the iPhone.
- Place the phone screen face down on a heating mat.
- Set the temperature to 80°C and heat the phone for 2-3 minutes.


Use Phone Opener
The Phone Opener from REFOX is truly an excellent tool for opening mobile devices. Its user-friendly design makes the process straightforward, saving valuable time during repairs. For those who may not have the Phone Opener, a suction cup can serve as an alternative, although it may not provide the same level of effectiveness. However, we highly recommend the Phone Opener for anyone in the repair industry.
- Place the iPhone face up on a phone opener. Rotate the knob counter-clockwise to secure the iPhone in place.
- To secure the suction cup to the screen, lower the lid of the phone opener and flip down the handle.
- Rotate the knob clockwise to lift the suction cup and create a gap between the screen and the frame.
- Apply some ethyl alcohol to soften the glue holding the screen in place.
- Remove the iPhone from the screen opener.


Open the Phone
- Insert an opening pick into the gap under the screen's plastic bezel and slide it along the right edge to separate the adhesive.
- Insert the opening pick in the bottom left corner of the iPhone and slide it slowly, avoiding cables.
- Place the iPhone on a screen holder and open it by gently swinging the screen up, and leaning it against the holder.


Remove The Screen
- Cover the front cameras with protection stickers to prevent damage.
- Unscrew the display connector bracket using a suitable screwdriver.
- A pair of tweezers will be used to remove the display connector bracket, and a spudger will be used to disconnect the display cable.
- Unfasten the front sensor connector bracket and remove it with tweezers.
- Use a spudger to disconnect the front sensor cable.
- Carefully remove the screen assembly and set the original screen assembly aside.


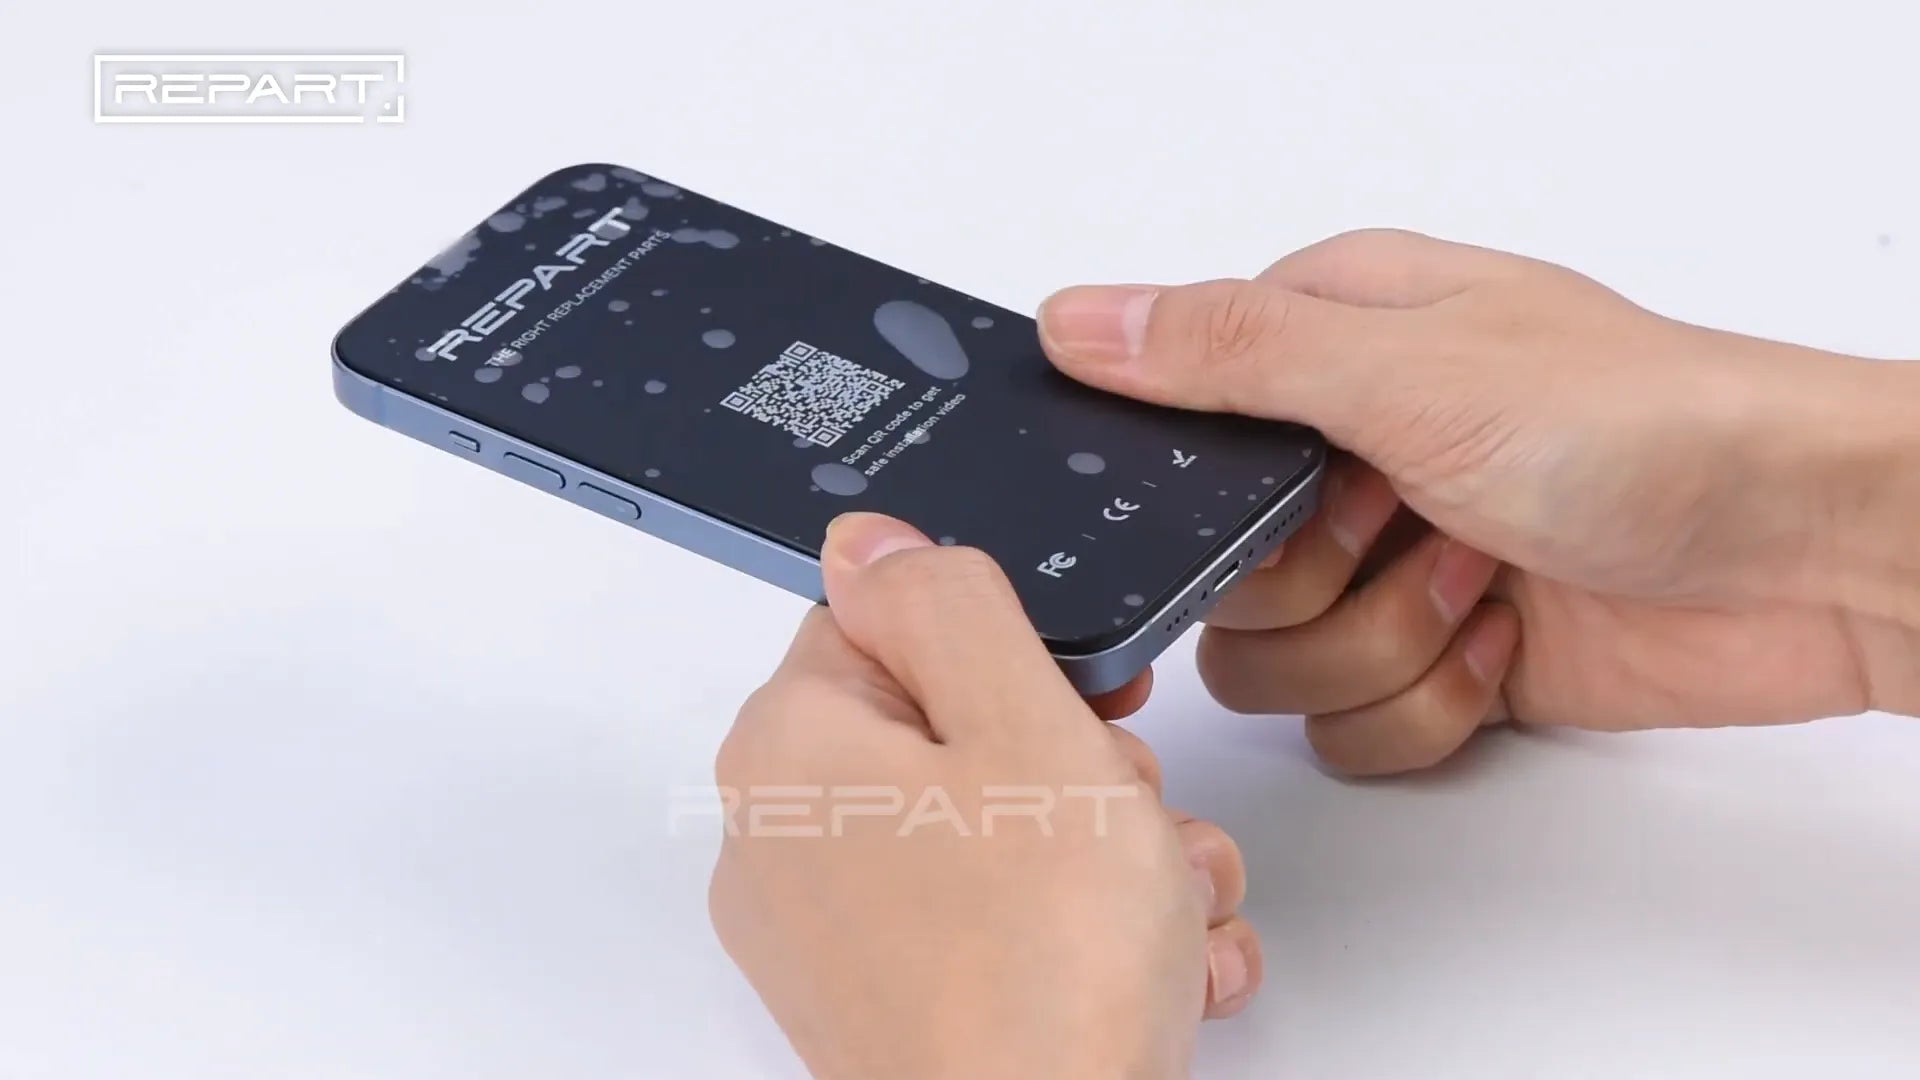
Check New Screen
- Take out the REPART screen assembly for iPhone 14. Before installing, program the True Tone data into the new screen.
- Connect the original screen to a programmer and read the True Tone data.
- Connect the REPART screen to the programmer and write in the True Tone data.
- Remove the front sensor from the original screen and place it on a screen fixture.


Front Sensor Bracket
- Unfasten the front sensor bracket and remove it.
- Apply ethyl alcohol to soften the front sensor glue.
- Use tweezers to remove the microphone, proximity sensor, and ambient light sensor from the recesses.
- Install the front sensor assembly to the new screen and press the sensors into the notches.
- Align and fasten the front sensor bracket to the screw holes.


Test and Finalize
- Connect the new screen cable and the front sensor cable to the logic board.
- Power on the iPhone and verify the True Tone function is restored. Check the touch function and then remove the screen.
- Remove the old adhesive around the perimeter of the iPhone's case using tweezers or an electric glue remover.
- Carefully align the replacement adhesive to the iPhone's case and press down the edges with your fingers.
- Use the tip of a spudger to press the adhesive into place around the entire perimeter of the iPhone.
- Connect the front sensor cable and install the front sensor connector bracket.
- Connect the display cable and install the display connector bracket.


Final Assembly
- Use tweezers to peel off the final release liner and hold the display out of the way while removing the last piece of the release liner.
- Remove the front camera protection stickers and align the edges of the screen with the edges of the iPhone body.
- Apply gentle pressure against the screen to close it up and tighten the two Pentalobe screws at the bottom edge of the iPhone.

Congratulations! You've successfully replaced your iPhone 14 screen. For high-quality replacement screens, consider the REPART iPhone 14 Soft OLED Screen Assembly Replacement.
-
Posted in
iphone 14, iphone 14 screen, screen replacement


