
Step-by-Step Guide to iPhone 15 Screen Replacement
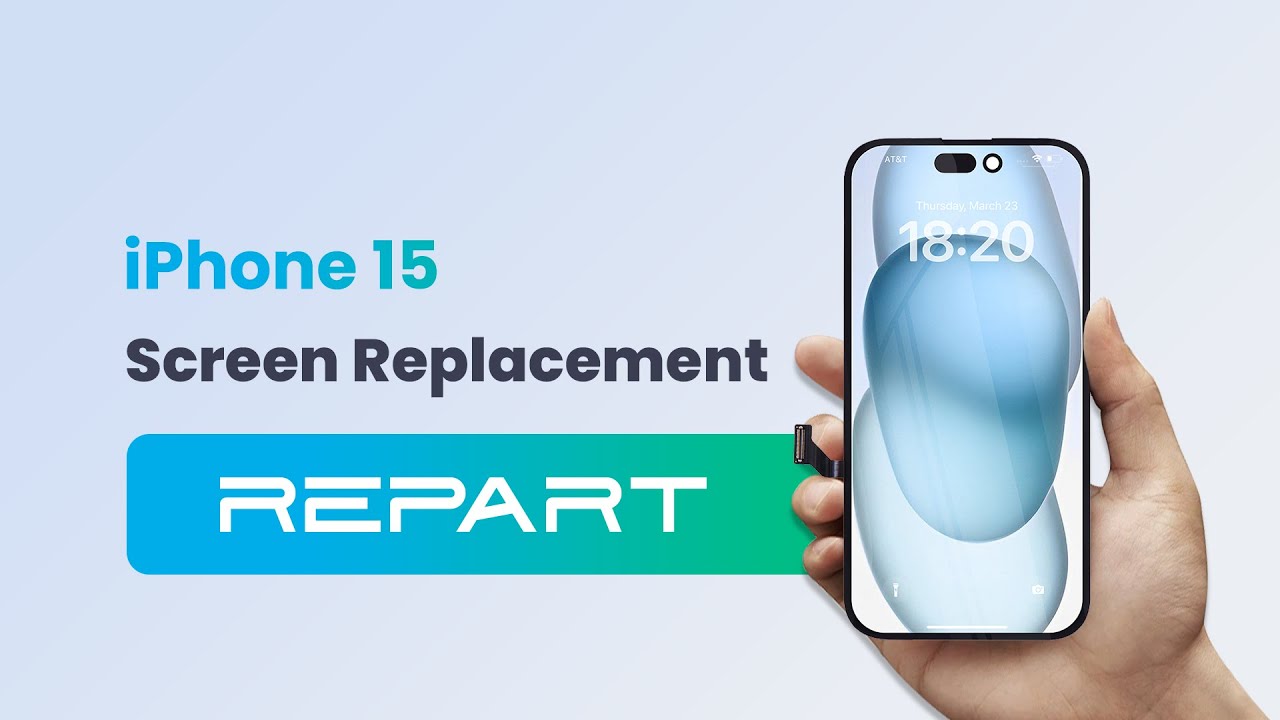
Cracked your iPhone 15 screen? Don’t let a shattered display or a hefty repair bill slow you down. Whether you’re a DIY enthusiast or a professional technician, replacing an iPhone 15 screen and restoring its True Tone feature is easier than you think with the right tools and guidance. In this step-by-step guide, we’ll walk you through the entire process—from safely removing the broken screen to programming True Tone data for a seamless repair. Save money, gain confidence, and get your iPhone 15 looking brand new quickly. Let’s dive in!
Tools and Parts Needed
To replace your iPhone 15 screen, gather the following:
- Pentalobe Screwdriver
- iPhone Separator
- Suction Cup
- Opening Pick
- Tweezers
- Spudger
- Cotton Swabs
- True Tone Programmer
- Screen Holder
- Protection Stickers
- REPART Screen Assembly for iPhone 15
- Replacement Adhesive
- Ethyl Alcohol
- Large Front Liner and Final Release Liner
Step 1: Power Off the iPhone
Before starting, power off your iPhone 15 to avoid electrical damage. Press and hold the side and volume buttons, then slide to power off.
Step 2: Remove the Pentalobe Screws
Use a Pentalobe screwdriver to remove the two Pentalobe screws located at the bottom edge of the iPhone 15. Store them safely to avoid loss.

Step 3: Prepare the iPhone Separator
Place the iPhone face-up on an iPhone separator to soften the adhesive holding the screen. Set the temperature to 80°C (176°F) to avoid overheating.

Secure the iPhone with the machine’s clamps and lower the suction cup onto the screen.


Step 4: Heat and Lift the Screen
Start the heating process. Press down on the suction cup to secure it to the screen, then rotate the separator’s knob clockwise to lift the suction cup, creating a small gap. Apply a few drops of ethyl alcohol to the gap to soften the adhesive.


Step 5: Separate the Screen Adhesive
Insert an opening pick into the gap under the screen’s plastic bezel. Remove the iPhone from the separator, then slide the pick slowly along the edges to cut through the adhesive.


Step 6: Open the Screen
Place the iPhone 15 into a screen holder. Gently swing the screen upwards (like opening a book) and lean it against the screen holder. Cover the front-facing cameras with protection stickers to shield them from dust or damage.


Step 7: Disconnect the Display and Sensor Cables
Use a Pentalobe screwdriver to unscrew the display connector bracket. Remove the bracket with tweezers.

Use a spudger to gently disconnect the display cable and front sensor cable from the logic board.

Step 8: Remove the Broken Screen
With all cables disconnected, remove the screen assembly from the iPhone. Set it aside for True Tone data extraction.

Step 9: Program True Tone Data
Connect the original screen to a True Tone programmer and read the True Tone data. Then, the REPART screen assembly for iPhone 15 will be connected to the programmer, and the True Tone data will be written.


Step 10: Transfer the Front Sensor
On the original screen, unscrew and remove the front sensor bracket.

Apply ethyl alcohol to soften the adhesive holding the front sensor (including the ambient light sensor) in the screen’s notch.

Use tweezers to gently peel off the ambient light sensor and front sensor assembly.

Peel off the protective film from the back of the REPART screen.

Install the front sensor assembly onto the REPART screen, pressing the ambient light sensor into the notch and securing the front sensor.

Align and fasten the front sensor bracket.

Step 11: Clean and Prepare the iPhone Frame
Remove old adhesive from the iPhone’s frame using tweezers and a cotton swab dampened with ethyl alcohol. Ensure the frame is clean for the new adhesive.


Step 12: Test the New Screen
Temporarily connect the new screen’s display and front sensor cables to the logic board. Power on the iPhone to verify that the display, touch, and True Tone functions work correctly. Disconnect the screen after testing.

Step 13: Apply New Adhesive
Carefully align the replacement adhesive strip around the iPhone’s frame. Press the adhesive into place, then use tweezers to peel off the large front liner.


Step 14: Install the New Screen
Reconnect the display and front sensor cables to the logic board.

Install and screw in the display connector bracket and the front sensor connector bracket.

Remove the front camera protection stickers and peel off the final release liner from the adhesive.


Align the new screen with the iPhone’s frame and press gently to secure it.

Tighten the two Pentalobe screws at the bottom edge.

Step 15: Final Testing
Power on the iPhone to confirm that the display, touch, and True Tone functions are working perfectly.
Congratulations
You’ve successfully replaced your iPhone 15 screen and restored True Tone functionality! By following this guide, you’ve saved money and gained valuable repair skills. Whether you’re a DIY enthusiast or a professional technician, this process empowers you to tackle future repairs with confidence. Test your iPhone thoroughly to ensure everything works as expected, and enjoy your crystal-clear display. Ready to take on more tech challenges? Check out our other guides for expert tips on phone repairs and troubleshooting. Happy fixing!
-
Posted in
iphone 15, iphone 15 screen, screen replacement


